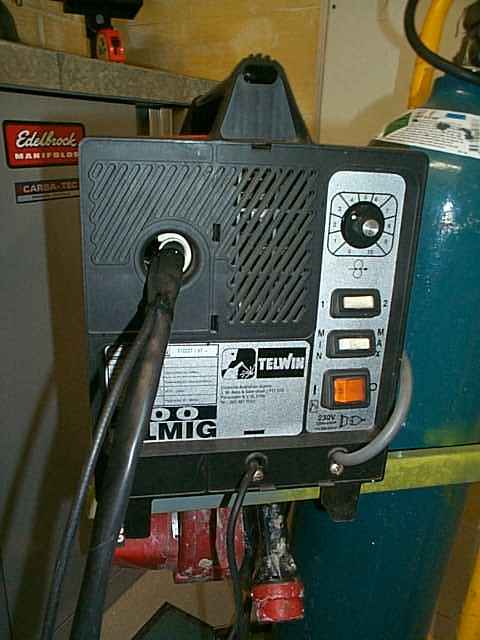
Telwin 100 amp Mig welder
I purchased my welder on Ebay. I had never used a Mig before and wanted to be sure I knew everything about them before I purchase a new one. I installed a new liner and added an electrically activated darkening helmet.
Why not just use an auto darkening helmet you might ask? Well, to be blunt...I think they suck. Light travels faster than electricity and coupled with the response time of the circuitry, there is always a small flash that is visible. After hours of welding you end up with sore eyballs. Yes you could just close your eyes but I hate doing that.
I did away with the automatic component and made it semi automatic. Now whenever you press the trigger to weld, the motor starts to wind the welding wire, this in turn triggers a relay to open circuit. The relay is located inside the welder and is hard wired to the helmet circuitry. The open circuit causes the faceshield of the helmet to go dark.Because electricity travels faster than the welding wire, the helmet is always dark before an ark is struck.
So far it works a treat.
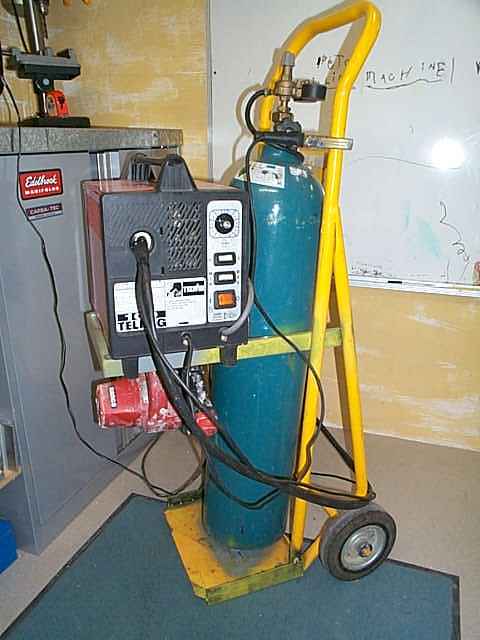
I also modified an old trolley so that the whole setup could be wheeled around the garage with ease. I have added a blower to the underside of the welder. This will have two functions.
1. To blow air into the welder and extend it's duty cycle.
2. To provide breathing air to the helmet.
The breathing air to the helmet will enable me to avoid any fumes as the welder is several metres from the welding job.
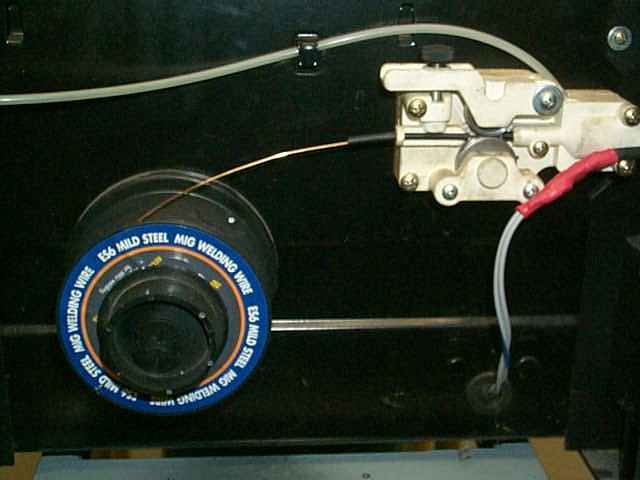
Here is a shot of the wire feed mechanism. The electrical cable you see with the red heat shrink is the switch wire for my manually operated auto darkening helmet. |
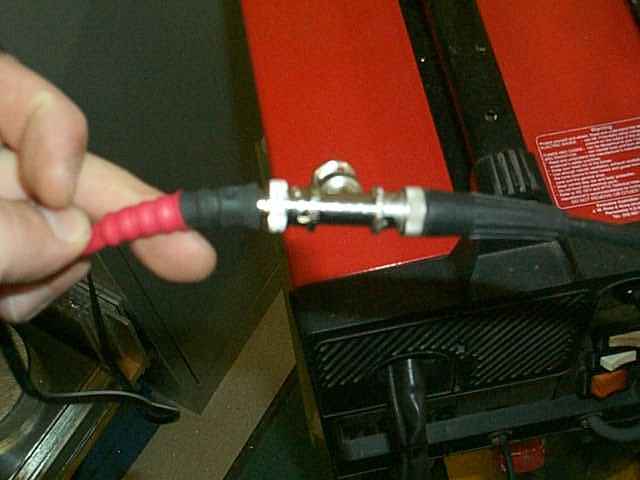
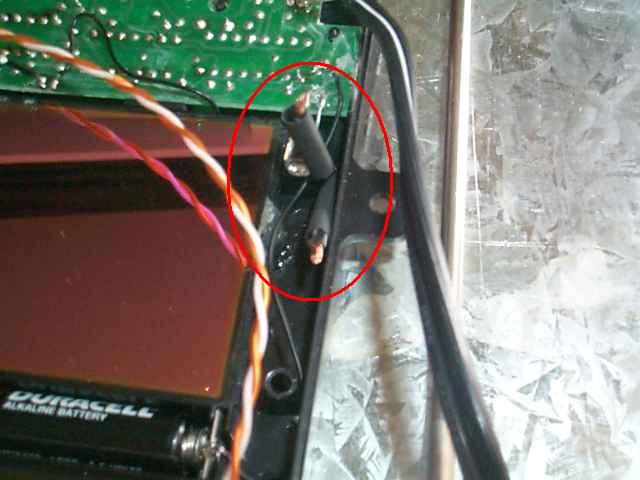
The helmet connects to the welder via a coax and a bnc joiner. This way it is easy to connect and disconnect if I need to for any reason. There is ample length on the cables to give a comfortable working radius around the trolley. |
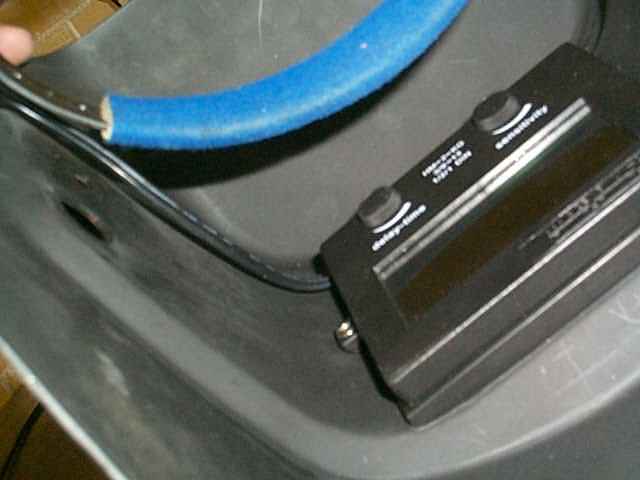
The coax is joined to a figire 8 cable and then feeds into the auto darkening circuitry. The delay time back to clear is still adjustable |
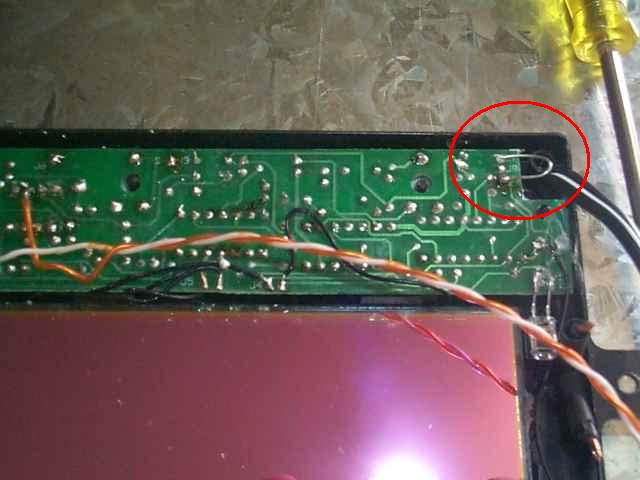
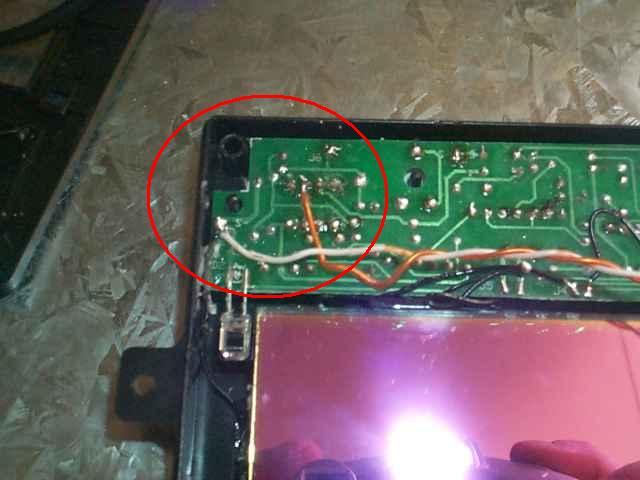
I set the faceshield to permanent level of maximum darkness by adding a link to the varistor connection. This was previously hooked to a cable and a remote varistor that was side mounted on the helmet. |
I found a couple of points that when bridged would cause the helmet to go light. That way, if the helmet was unplugged from the welder, the faceshield would remain dark. |
The other end of the orange / white wires are soldered to the figure 8 cable that goes to the welder. Heatshrink insulates the joins. |
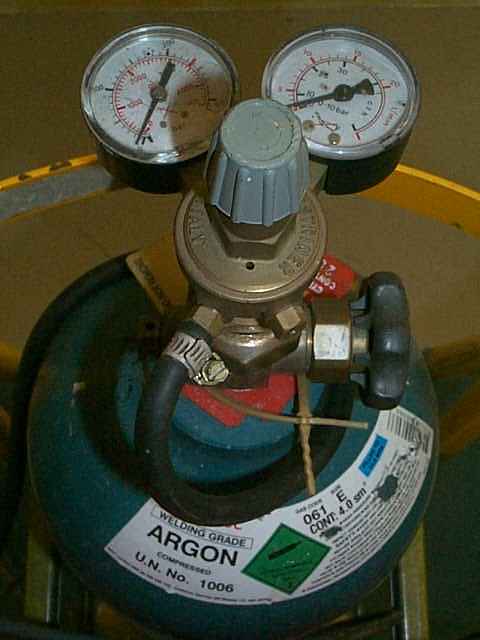
I am using argon as my shielding gas. |
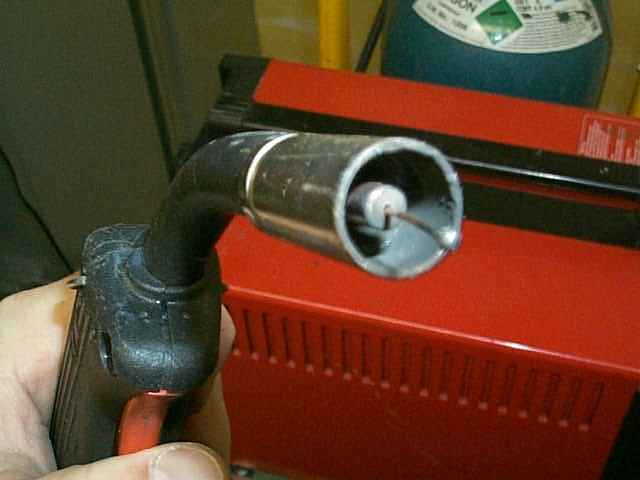
This is the nozzle. The gas comes out of the nozzle and shields the weld. The wire is the electrode. I am still practicing but am getting better. |
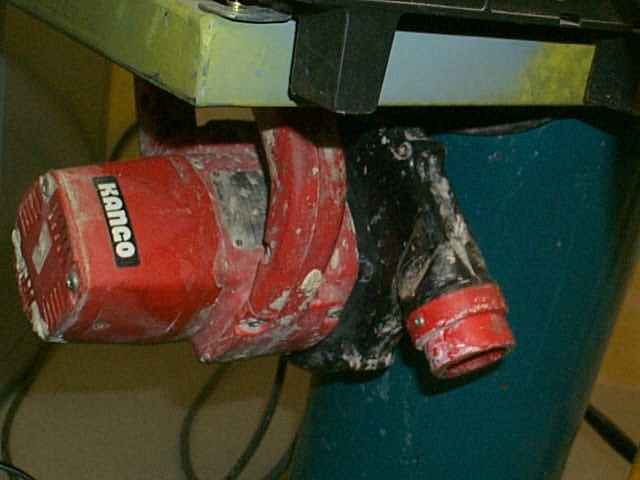
The welder is bolted to a frame which is welded to the original trolley. The blower unit is mounted below the welder. |
Here is the blower in more detail. I will need to add a manifolfd to split the breathing air and ventilation air. I will also need to add a speed controller to slow it way down. |
Here is the whole thing when standing back. I never weld inside. I always take the whole lot outside so I can get plenty of air. |
|